


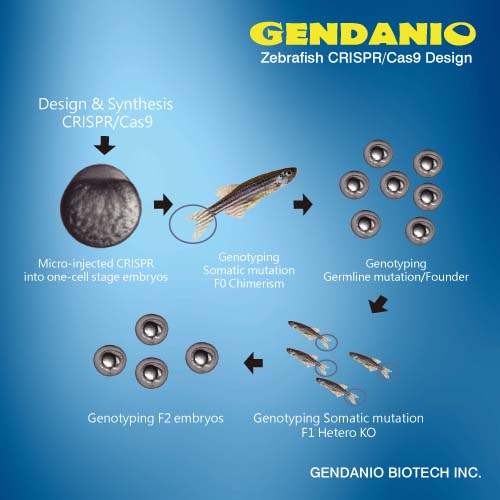


CRISPR/Cas9 (RGENs) Microinjection Service 基因敲除魚品系製作
Zebrafish Microinjection Service:
Custom zebrafish knockout (gene editing)
Zebrafish larve development stage:
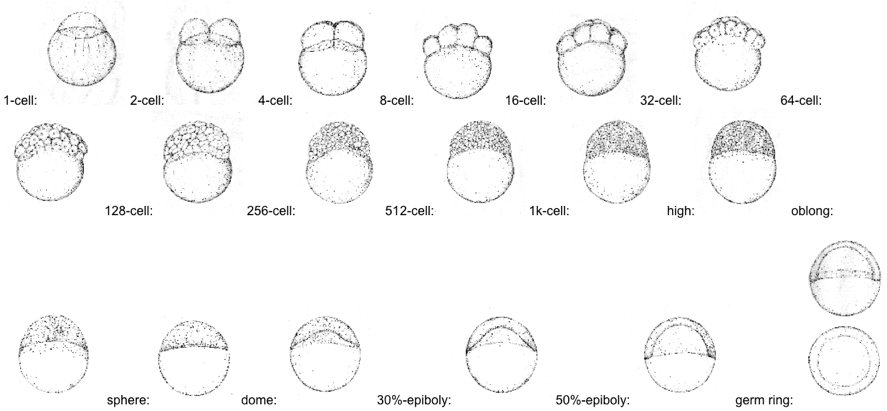

Kimmel et al., 1995. Developmental Dynamics 203:253-310
Zebrafish microinjection protocol
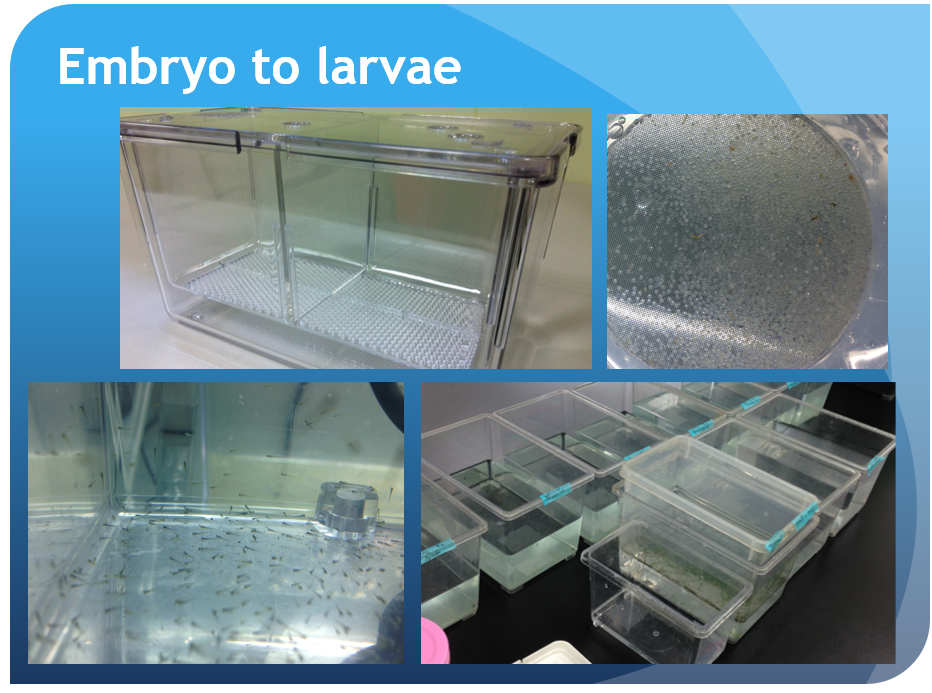
Part 1: Egg production and collection
- The night prior to injection, set up the fish in breeding tanks with dividers in place. To increase total egg production, fish can be set up in a ratio of two females to one male if desired.
- The following morning, after the room lights turn on, pull the dividers from several tanks and allow for approximately 20 minutes of undisturbed mating time.
- Using a strainer, collect the eggs from the breeding cages and rinse them with egg water. Pour eggs into a Petri dish with egg water and remove unfertilized eggs and debris with a transfer pipette. Fish can be regrouped in larger tanks to produce additional rounds of eggs for injection. Adjust the timing of egg collection to allow for maximum numbers of eggs to be produced without letting them pass the single cell stage.
- Place a microscope slide in the inverted lid of a 100mm Petri dish. Use a transfer pipette to line up the eggs against the side of the slide forming a single column. Remove excess egg water from the slide by pressing a Kimwipe against the side opposite the eggs.
Part 2: Needle pulling, loading, and preparation
- With a micropipette puller, pull a 1.0mm OD glass capillary into two needles and store in a 150mm Petri dish by laying over silly putty ramps. Needles can be pulled in advance.
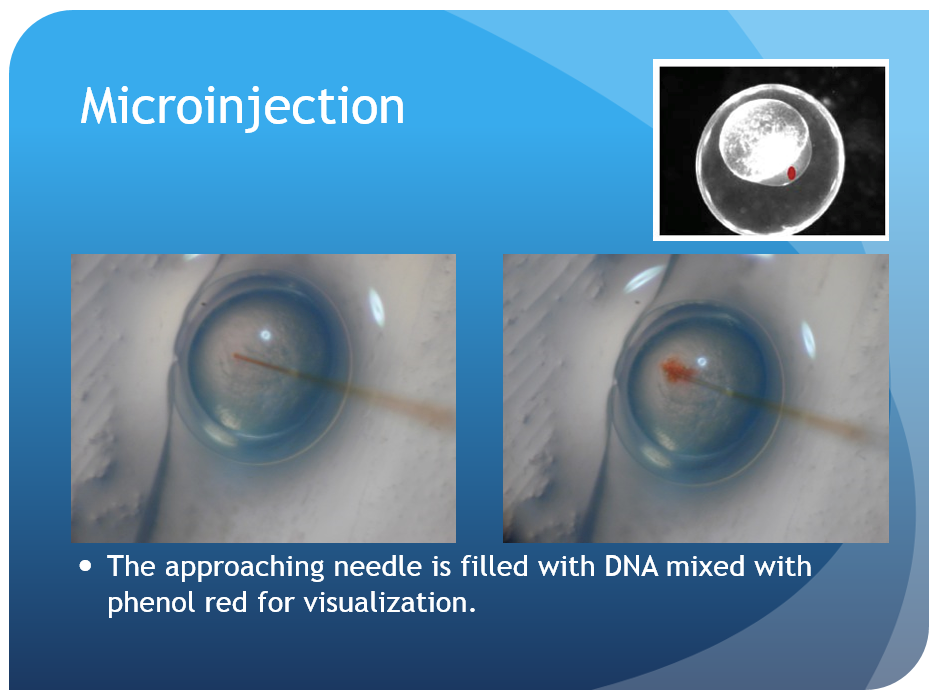
- Backload the needle with 3 μL of injection material using a microloader pipette. Shake the bolus toward the needle tip until there are few or no bubbles remaining.
- Turn on the air source and microinjector. Insert the needle into the microinjector and insure a tight seal within the housing. Check that the micromanipulator is in a proper position to allow for a wide range of movement and adjustment. Bring the needle tip into the plane of view of the microscope, high off the stage, and focus on the thinnest region of the tip. Use a pair of sharp forceps to pinch off the needle at a point which leaves the needle narrow enough to pierce the chorion and yolk but still capable of delivering a consistent bead size. A drop of mineral oil on a micrometer can be used to calculate the volume of each injection. When injected into the oil, a bead with a diameter of 0.1 mm contains 500 pL of injection material; injection volumes of 500 pL or 1nL are typically used. Depress the foot pedal and monitor the size of the bead while trimming the needle and adjusting the injection pressure as needed. Ideal injection volumes will fill approximately 10% of the egg volume. The quality of the needle tip is crucial to both the ease of injection and the quality and consistency of the results.
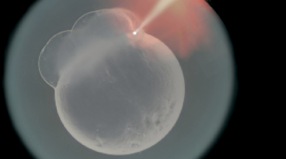
Part 3: Injection
- Ensure the embryos have not developed past the four-cell stage. Ideally, embryos should be at the one-cell stage.
- Lower the needle toward the column of eggs, holding the dish in place with your opposite hand.
- Pierce the surface of the chorion and enter the yolk in one smooth stroke while watching for any crushing or tearing of the yolk sac. Inject the injection material into the yolk. Avoid injecting air bubbles or stretching the yolk as either can be lethal to the embryo. Working down the line, adjust the pressure as needed to maintain a consistent bead size and, using a pipette tip, remove eggs which look unfertilized or are destroyed during the injection process.
- After completing a column of eggs, use a gentle stream of egg water to move the injected eggs into a clean Petri dish. Repeat as necessary. Keep several uninjected embryos as a control. At the end of day one, remove dead embryos and record the number of injected embryos. Replace the egg water in the dish periodically to reduce the chance of infection.
Part 4: Representative results
Depending on what is being injected, embryos may survive at a lower rate than their uninjected siblings. Fortunately, it is easy to inject huge numbers of them, so this is rarely a problem. It is normal for morphants to exhibit slightly delayed development.
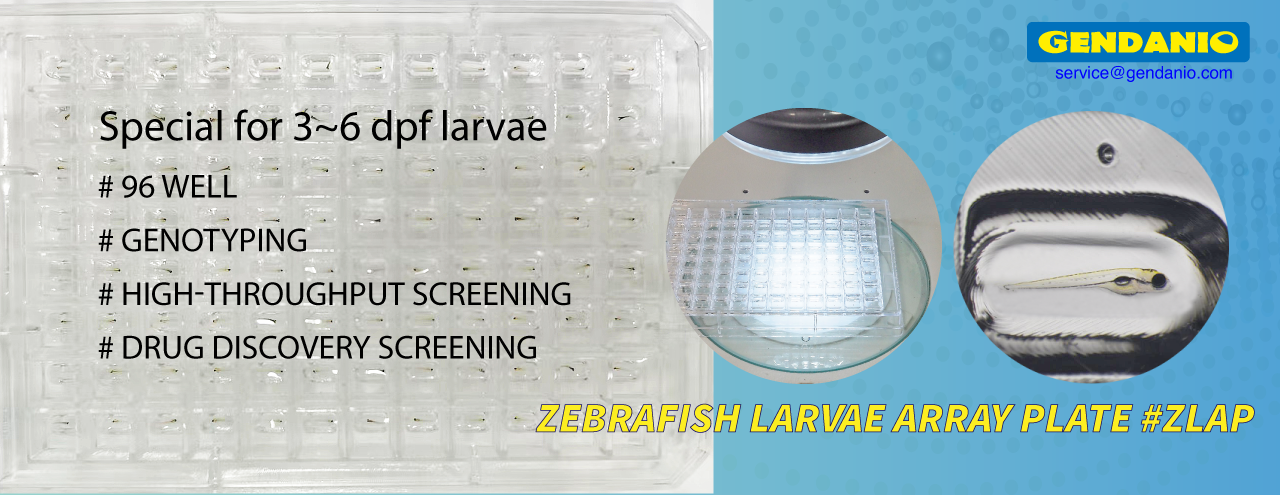
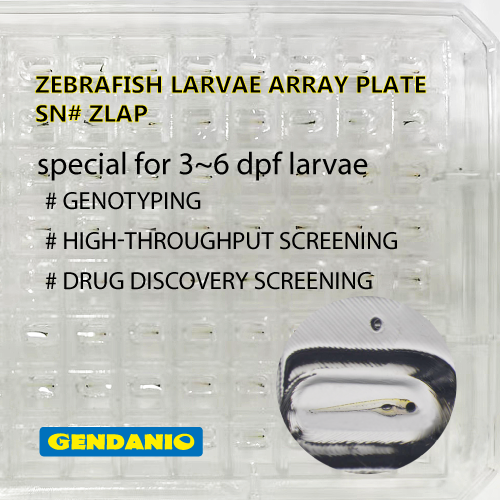
Part 5: Observation:
- Phenotype
- Select with fluorescence
- Genotyping
- Next generation sequencing(NGS)
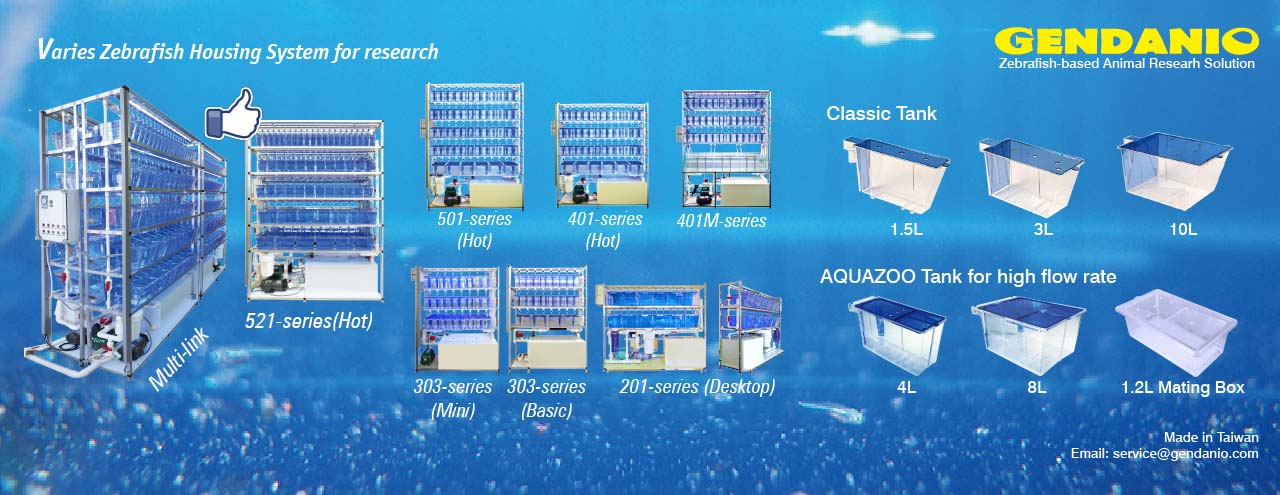
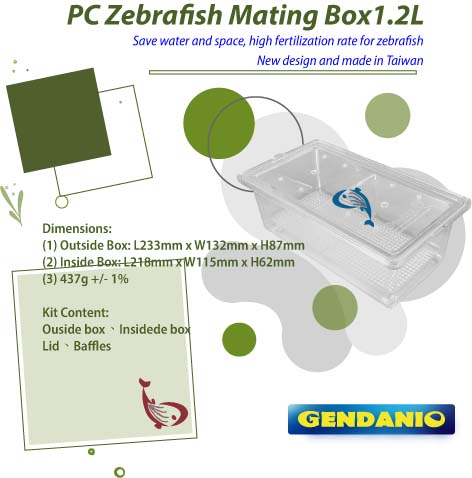
Aquaculture system suggestion:
GENDANIO(Model-CL)
AQUAZOO(Model-AZ)
Aquaculture system and microinjection service
Contact:
TEL: +886 229-028-056
FAX: +886 229-018-156
EMAIL: